Carefree Slide Out Awning Spring Tension

Part Detail Carefree Of Colorado

Exploded Parts View

Slide Topper Billowing On The Road Technical Tips And Tricks Escapees Discussion Forum

Part Detail Carefree Of Colorado

How To Replace A Carefree Of Colorado Rv Slide Topper Model Sok Ii Youtube

Rv Net Open Roads Forum General Rving Issues Replace Slide Out Awnings At Home
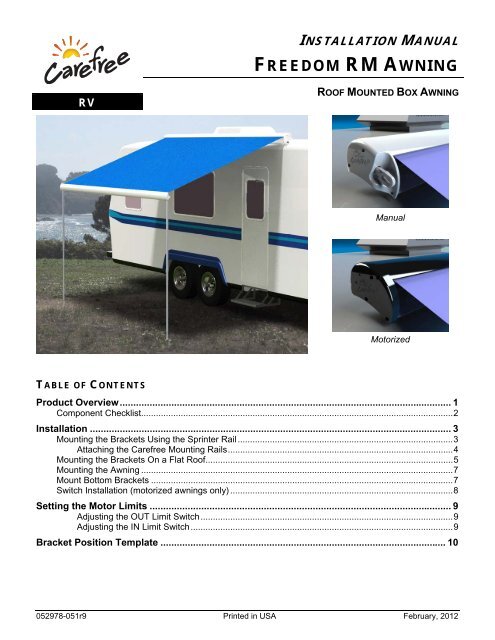
Push the aluminum pole in its extended length up to the rv wall and down to the lip of the awning under the awning itself.
Carefree slide out awning spring tension.

Rv Awning Repair Releasing The Spring Tension Camper Awnings Rv Awning
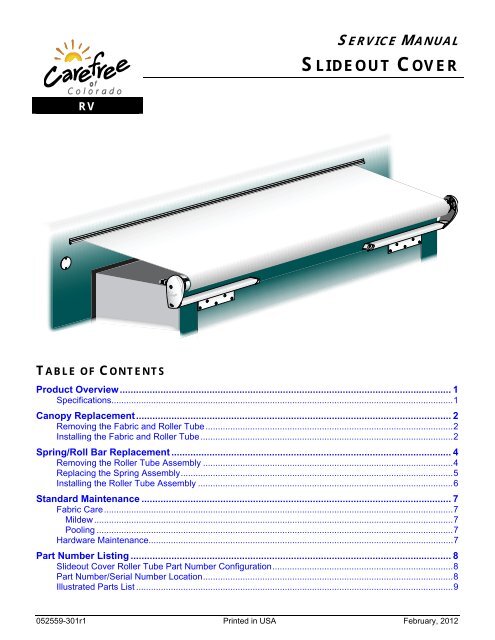
Slideout Cover Service Manual Pdf Carefree Of Colorado

Carefree Of Colorado S Ascent Sideout Awning Trailer Life
Carefree Awning Re Tension Irv2 Forums
Source : pinterest.com
